Last updated November 18, 2026

Free written scope consultation - allowances, timeline, and change-order rules on paper before a single trade is scheduled
Driveway & Pavers Maintenance Checklist for Inglewood Homeowners
Most Inglewood driveways that crack, settle, or shed joint sand within a few years don’t fail because of the paver brand or the crew that laid them. They fail because the sub-base wasn’t designed for expansive clay soil. No amount of sealing, sweeping, or pressure washing fixes a movement problem that lives eighteen inches below the surface. Inglewood sits on clay-heavy ground that swells when the marine layer soaks it and shrinks through the dry summer, and that seasonal breathing is the single biggest driver of paver failure in this city. We’ve watched homeowners pour money into surface treatments while the real problem sat underneath. This guide walks through the specific inspection checkpoints, sealing choices, and maintenance rhythms that actually work for Inglewood’s soil and weather, plus what you can safely handle yourself and what needs a pro.
Quick Answer
Maintaining driveway pavers in Inglewood comes down to four recurring jobs: sweeping off grit, keeping joint sand topped up before the wet season, checking edge restraint after heavy rain, and resealing every three to five years with a product matched to your paver material. The most important thing you can do is watch for signs of sub-base movement early, because Inglewood’s clay soil moves seasonally and surface repairs won’t stop it. If you see rippling, sunken corners, or joints that won’t hold sand no matter how often you refill them, the problem is below the pavers, not on them.
Styles & brands we work with
- Kitchen remodeling
- Bathroom remodeling
- Home additions & ADU
- Roofing
- Windows & doors
- Driveway & pavers
- Fence
Table of Contents
- Why Inglewood’s Clay Soil Changes the Maintenance Playbook
- The Inglewood Seasonal Maintenance Calendar
- How to Spot Sub-Base Failure Before the Surface Cracks
- Joint Sand and Edge Restraint: The Two Things That Hold It All Together
- Choosing the Right Sealer for Concrete Pavers, Clay Brick, and Porcelain
- What You Can Do Yourself and What Requires a Contractor
- Drainage and Grading Around Inglewood Driveways
- Choosing Paver Materials Built for This Climate
Why Inglewood’s Clay Soil Changes the Maintenance Playbook
Most paver maintenance advice floating around online was written for sandy or desert ground, and it falls apart when applied here. Inglewood’s soil is heavy in clay, and clay expands when it absorbs water and contracts as it dries. That cycle happens twice a year, roughly November through March when the marine layer keeps everything damp, then again through the dry summer months. A driveway built on an undersized or poorly compacted base will rise and fall with that soil, and the pavers on top get pushed, pulled, and racked along with it.
What does that mean in practice? The joint sand starts working its way out faster than it would on stable ground. Edge restraints take on lateral pressure they weren’t designed for. And water that pools at the base of the driveway sits against the sub-base longer, feeding the clay and making the next swell worse. The maintenance schedule that works for a Phoenix driveway and a driveway in Inglewood aren’t the same animal.
If you’ve had pavers installed and they still look tight after three or four wet seasons, that’s a good sign the original base was excavated deep enough and compacted properly. If joints open up every spring or the surface starts to ripple near the aprons and tire tracks, the base is likely moving. We’ve seen this pattern repeatedly on driveways in Inglewood areas where the water table sits closer to grade. It’s a base problem, and it gets worse on its own. For a full breakdown of how paver installations are built correctly in this soil, see our driveway & pavers page.
The Inglewood Seasonal Maintenance Calendar
Timing your maintenance to Inglewood’s weather makes every task easier and more effective. The wet season runs roughly November through March, and the dry stretch from April through October. Each period asks for a different set of eyes and hands on the driveway.
October and November: Pre-Wet-Season Prep
- Inspect the edges. Walk the entire perimeter of the driveway and press on the edge restraint (the hidden border that locks the pavers in place). If it flexes or rocks, it needs to be rebedded before rain starts working under it.
- Top up joint sand. Fill joints to within a quarter inch of the surface. Sand that’s a little low in October will be gone by January after a few wet-season rains.
- Clear the drainage path. Sweep debris out of any channel drains, grates, or the transition strip at the street. Blocked drainage puts standing water against the base, and that’s the fuel for clay swell.
- Check downspouts. If a gutter outlet dumps onto the driveway, redirect it. Concentrated roof runoff will carve through joint sand and undermine the edge faster than rain ever will.
November through March: Wet-Season Monitoring
During the marine-layer months, do a quick walkthrough after each heavy rain. You’re looking for puddles that linger more than a few hours, sand washing out of joints along the low side, and any visible settling at the soil contact line. If the driveway slopes toward the house, water needs to move off it quickly, not sit against the foundation. This is also the season when you’ll notice edge restraint failures first, since saturated ground flexes more.
April through October: Dry-Season Maintenance
- Reseal during dry, warm weather with no rain in the forecast for at least twenty-four hours so the product cures properly.
- Refill joints that opened during winter movement, using the same sand type originally installed.
- Pull weeds early. In dry weather, weeds grow slower but their roots still pry open joints.
- Inspect for sun fading or staining, and clean with a product rated for your specific paver material.
How to Spot Sub-Base Failure Before the Surface Cracks
The most useful maintenance skill you can develop is recognizing base failure early. Once pavers crack visibly, the only option is removal and rebuild. But there are signs that appear months or years earlier if you know where to look.
First, check for rippling or washboarding. Stand at one end of the driveway and sight down its length. A good installation reads as a flat plane. A moving one shows gentle waves, especially in the high-traffic zone between the street and the garage. That’s not normal settling; it’s the base beneath the pavers shifting unevenly.
Second, watch for joints that won’t hold sand. If you refill the joints in October and they’re empty again by December, sand is migrating into voids under the pavers. That’s a classic early indicator of base movement in Inglewood.
Third, look for localized dips at corners and aprons. The apron edge at the street takes the most lateral stress from the surrounding ground, so it’s usually the first place to show depression. A corner that’s one-half inch below the rest of the plane is a warning sign, not a cosmetic annoyance.
Fourth, watch for pavers that rock underfoot. If you can feel one paver tip when you cross it, the base layer beneath it has a void, and water will find it. That’s an early-stage problem that a contractor can often resolve without full replacement, but only if it’s caught before the fault spreads.
Fifth, look at the color of the sand in joints against the color of the surrounding soil. If your joint sand is washing out and being replaced by fine gray clay washing up from below, water is moving through the void beneath your pavers, and that’s a base drainage problem. In these situations, you want to get eyes on the problem before the next wet season, not after. If you’re uncertain whether what you’re seeing is normal or serious, an in-home assessment is worth the visit. Construction Inglewood offers free estimates on paver repair and replacement, and our technicians have up to 14 years of experience reading these specific failure patterns in Inglewood’s soil.
Joint Sand and Edge Restraint: The Two Things That Hold It All Together
Paver systems work as a unified surface, and the two components that keep them unified are the joint sand and the edge restraint. When either one fails, the system degrades fast.
Joint Sand
Joint sand does three jobs: it locks the pavers together so traffic loads distribute across the whole surface instead of one stone, it keeps water from flowing directly into the base, and it deters weeds. For most driveways, you want a clean, sharp, well-graded sand, sometimes stabilized with a polymer that binds when wet. Dry sand gets refilled in a thin layer and swept into the joints, then you water it lightly to settle. Refill when joints drop below a quarter inch, and repeat as needed through the wet season.
Avoid the temptation to use ordinary play sand or bagged sandbox sand; it holds too much water and packs unevenly. And be careful when refilling joints after sealing. If your sealer has already built up, the joint sand needs to be added before resealing, not after. Rebuilding a joint with sand on top of a sealed surface rarely gets deep enough to work.
Edge Restraint
Edge restraint runs along the driveway’s perimeter and grips the pavers so the field can’t spread. On driveways that abut soil, it’s usually a metal or plastic edge, anchored with spikes into the base. In Inglewood’s soil, edge restraint is where lateral pressure from the moving clay concentrates. If it’s loose, the pavers above it will start to spread apart, and the outer joints widen while the inner joints stay tight.
Check it after each wet season with a firm press and a look along the border. If the restraint is rocking or has pulled away from the pavers, this is a contractor job. Rebeding it involves digging back the base, resetting the edge to the proper depth, and re-compacting it so it holds. For property boundaries where the driveway meets a gate or side-yard entrance, a solid fence installation can also add anchoring pressure where the base needs support, especially on lots with long side-yard exposures.
Choosing the Right Sealer for Concrete Pavers, Clay Brick, and Porcelain
Not all pavers are the same material, and using the wrong sealer can accelerate wear rather than prevent it. The most common mistake we see is a homeowner sealing a clay brick driveway with a film-forming acrylic meant for concrete pavers. That product traps moisture, and clay brick needs to breathe. Over a season or two, trapped moisture leads to spalling and surface damage that’s expensive to fix.
Here’s the quick sorting rule:
- Concrete pavers tolerate both penetrating and film-forming sealers. Penetrating sealers (often siloxane- or silane-based) soak in and leave no surface film, which is safer for climates with wet seasons because it doesn’t trap moisture. Film-forming acrylics give a glossier look and stronger stain resistance but need to be reapplied more carefully and are more prone to getting cloudy if moisture is present when they cure.
- Clay brick needs a breathable, penetrating sealer only. Avoid heavy acrylic films. Clay brick was fired at high heat and behaves differently from concrete, and the wrong product will trap moisture inside the brick and cause surface spalling over time.
- Porcelain pavers are dense and non-porous, so they usually need almost no sealing from a performance standpoint and more for surface protection against staining. Use a product specifically rated for porcelain or the manufacturer may consider the sealer a warranty issue.
Seal during Inglewood’s dry season (roughly April through October). Wet-season application on cool, damp mornings is where most sealing failures come from. Don’t seal if rain is forecast, and don’t seal on a surface that’s still holding moisture from the night. Resealing every three to five years is a reasonable rhythm for Inglewood driveways, though a penetrating sealer applied to a properly pitched surface may stretch closer to five years. Also check your manufacturer’s warranty terms before sealing yourself; some warranty language requires sealing with a compatible product to stay valid.
If you’re selecting pavers for a new installation and want materials with known performance records in this climate, our work is built around Belgard, Unilock, Techo-Bloc, Tremron, Cambridge Pavers, and Oldcastle. Each has a distinct design range and warranty tier, so you’re choosing by material performance rather than a single locked-in supplier. We’ve also seen home additions & ADU projects drive the logic of paver selection, since a new driveway or widened approach often has to integrate with a new structure’s footprint and grading.
What You Can Do Yourself and What Requires a Contractor
Most routine paver maintenance is a good fit for a homeowner. What’s not a good fit is anything that involves the base layer or edge restraint, either of which can go wrong in a way that damages the whole system. Here’s the split we recommend:
Homeowner Tasks (Quarterly and After Storms)
- Sweeping or blowing off grit, leaves, and accumulated dirt.
- Refilling joint sand in the top portion of joints.
- Pulling weeds by hand or with a thin weed puller before they root.
- Cleaning the surface with a suitable cleaner for the specific material.
- Clearing drainage paths around drains and gutter outlets.
- Visual inspection for puddling, rippling, or joint voids.
Contractor Tasks (To Avoid Voiding Warranties)
- Re-seating edge restraint or replacing damaged restraint sections.
- Lifting pavers to check for base voids and re-compacting the aggregate beneath.
- Any structural correction where settlement has changed the driveway’s plane.
- Full re-sealing (or sealing for the first time) if your original installation used a polymer-modified joint sand or has a manufacturer warranty requiring a professional application.
- Drainage corrections that involve re-grading or installing channel drains.
When pavers need to be lifted and reset, the risk of damage to the pavers themselves is real, and the re-setting has to match the original base depth and compaction. That’s a job for someone with equipment and experience. Our technicians have up to 14 years of experience on pavers and understand how much depth Inglewood’s clay soil requires in different parts of the city. If you want a professional assessment, Construction Inglewood offers free estimates on paver work, and we can give you a written line-item quote before any work begins.
Drainage and Grading Around Inglewood Driveways
In a clay-heavy city, drainage is the maintenance task that matters most and gets ignored the longest. A driveway needs to slope away from the house or garage and toward the street or a drain at a minimum of roughly one-quarter inch per foot. When that slope is right, water clears the surface fast. When it’s not, water pools and the clay soil soaks it up beneath, which feeds the swell and shrink cycle all over again.
Walk your driveway during a heavy wet-season rain and see where water goes. It should move, not sit. If there’s a persistent low spot, that’s a grade problem, not a cosmetic one, and it will shorten the life of the pavers above it. Small drainage fixes (like clearing an existing grate) are easy to handle. Re-grading a driveway or adding a channel drain at the apron is a contractor task, and it’s worth doing early rather than after pavers fail.
If your driveway meets lawn or garden beds, watch for soil washing onto the surface during the wet season. That washed soil fills joints, compacts unevenly, and traps moisture. Keep a clean edge line and remove any soil that collects against the pavers.
Choosing Paver Materials Built for This Climate
If you’re evaluating a replacement or planning a new driveway, the material you choose matters as much as the maintenance plan. Concrete pavers, clay brick, and porcelain each behave differently in Inglewood’s wet-dry cycle, and not every commercial paver line is designed for ground movement.
Concrete pavers in a proper installation are the most forgiving option for our clay soil because they flex slightly with seasonal movement rather than fracturing. Clay brick adds a design characteristic you can’t get from concrete, but it’s more sensitive to moisture. Porcelain brings a smooth, contemporary surface and excellent stain resistance, but its density means a base failure underneath shows up more quickly at the surface as a broken tile.
Whichever material you choose, the base construction matters more than the surface. Our work is built on established brands and warranties: Belgard, Unilock, Techo-Bloc, Tremron, Cambridge Pavers, and Oldcastle for hardscape; GAF, CertainTeed, Owens Corning, IKO, Atlas, Tamko, and Boral for roofing when a project has a roofing scope; and PGT, CGI, and Therma-Tru for windows and doors. We also work with Mr-Glass on window projects, and our full residential scope covers Construction Inglewood across seven service lines. If your project involves a new fence line or side-yard boundary adjacent to a driveway, the fence installation and paver work can be handled under a single contractor relationship so the layout stays coordinated.
Common Mistakes to Avoid
- Resealing every year. Sealer builds up in layers and eventually looks cloudy and traps moisture. Every three to five years is enough unless you’re seeing specific problems.
- Using film-forming sealer on clay brick. Clay brick needs to breathe and will spall under an acrylic film. Match the sealer to the material, not to the marketing.
- Ignoring edge restraint. Loose restraint is the leading early cause of paver spreading in Inglewood, and it’s an inexpensive fix if you catch it before the field moves.
- Refilling joints with the wrong sand. Play sand and bagged sandbox sand hold too much water and pack unevenly. Use sharp, well-graded paver joint sand.
- Pressure washing heavy-handed at close range. High-pressure nozzles can erode joint sand and blast mortar haze into joints, causing new damage. Keep the tip well away from the surface.
- Assuming ripples are cosmetic. Rippling is a symptom of the base moving and tends only to get worse. It’s the one sign that should have you on the phone, not reaching for the broom.
- Letting downspouts dump on the driveway. Concentrated runoff is the fastest way to strip joint sand and undermine edge restraint. Redirect the outlet.
- Buying pavers without a warranty path. Some warranties require professional installation or sealing with a compatible product. Read those terms before you pick a brand.
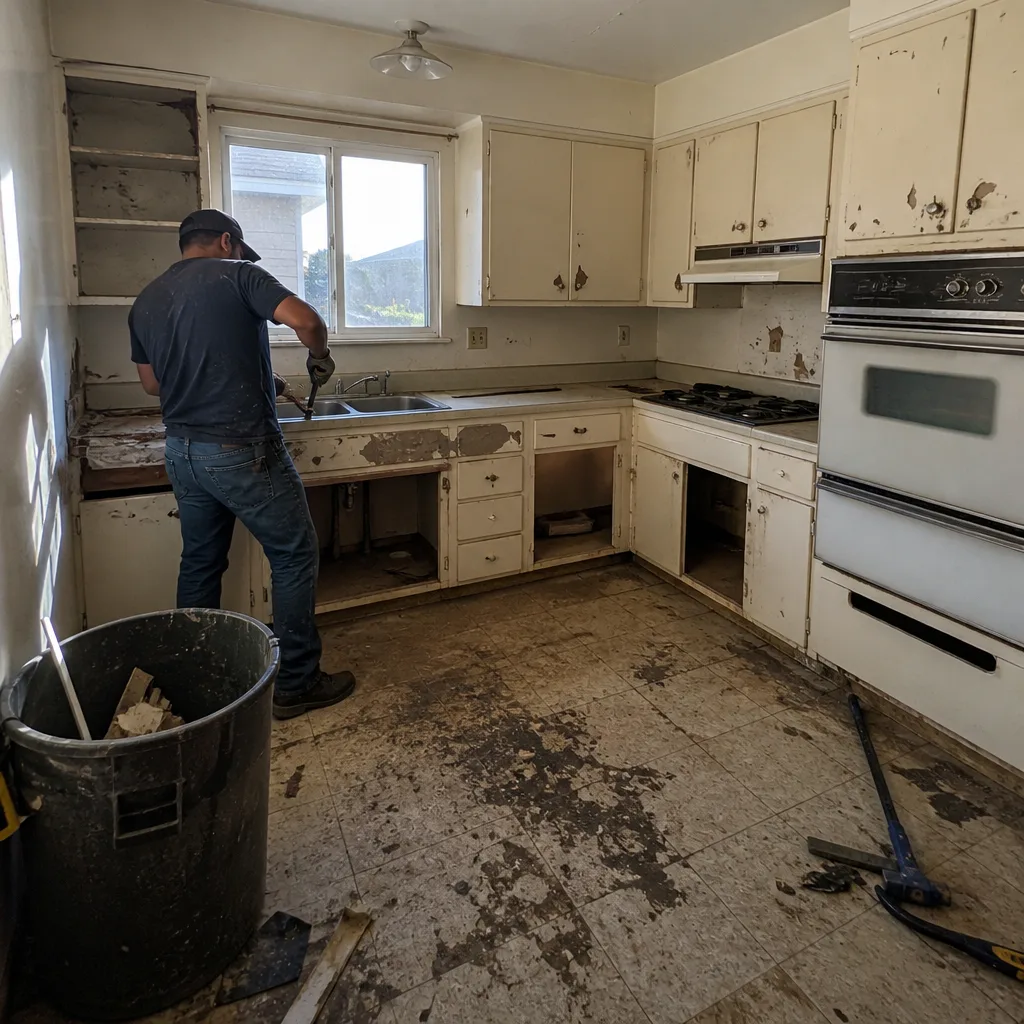
See the difference
 Before
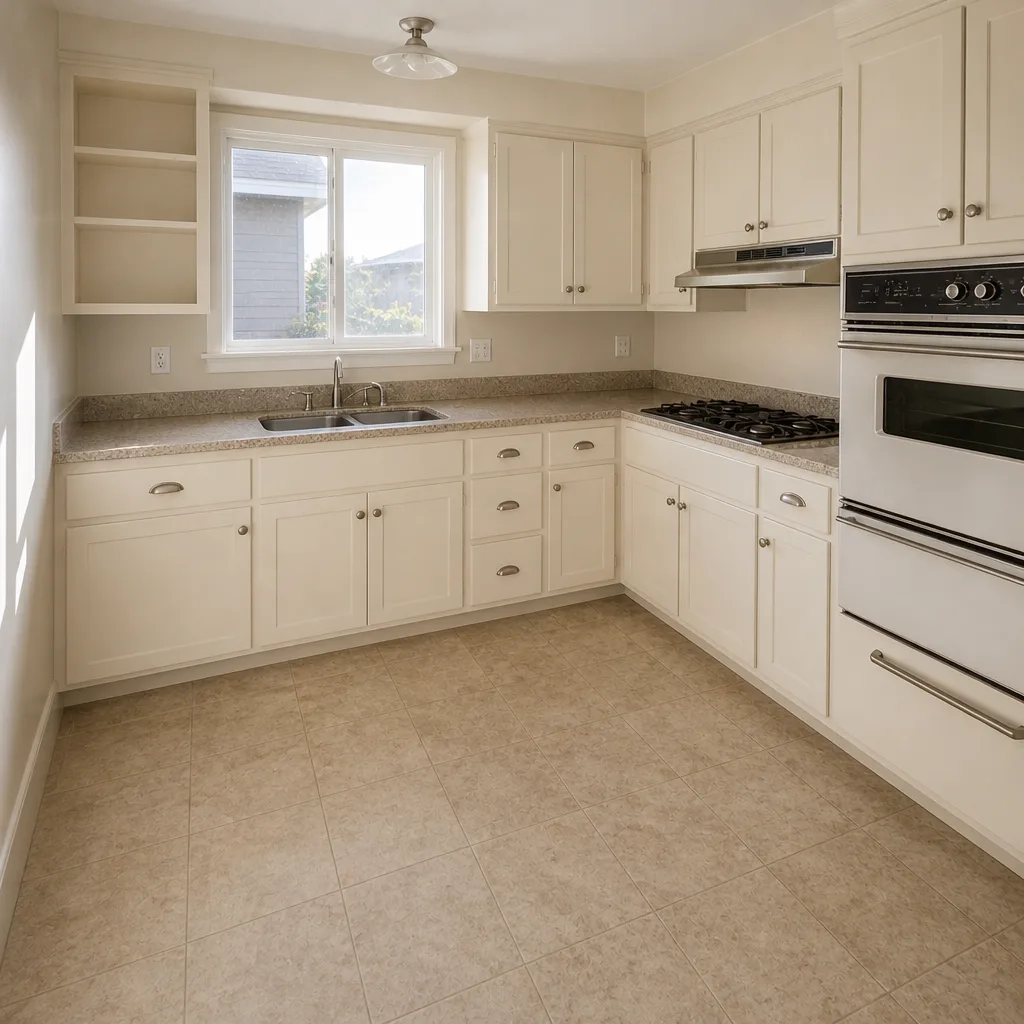 After
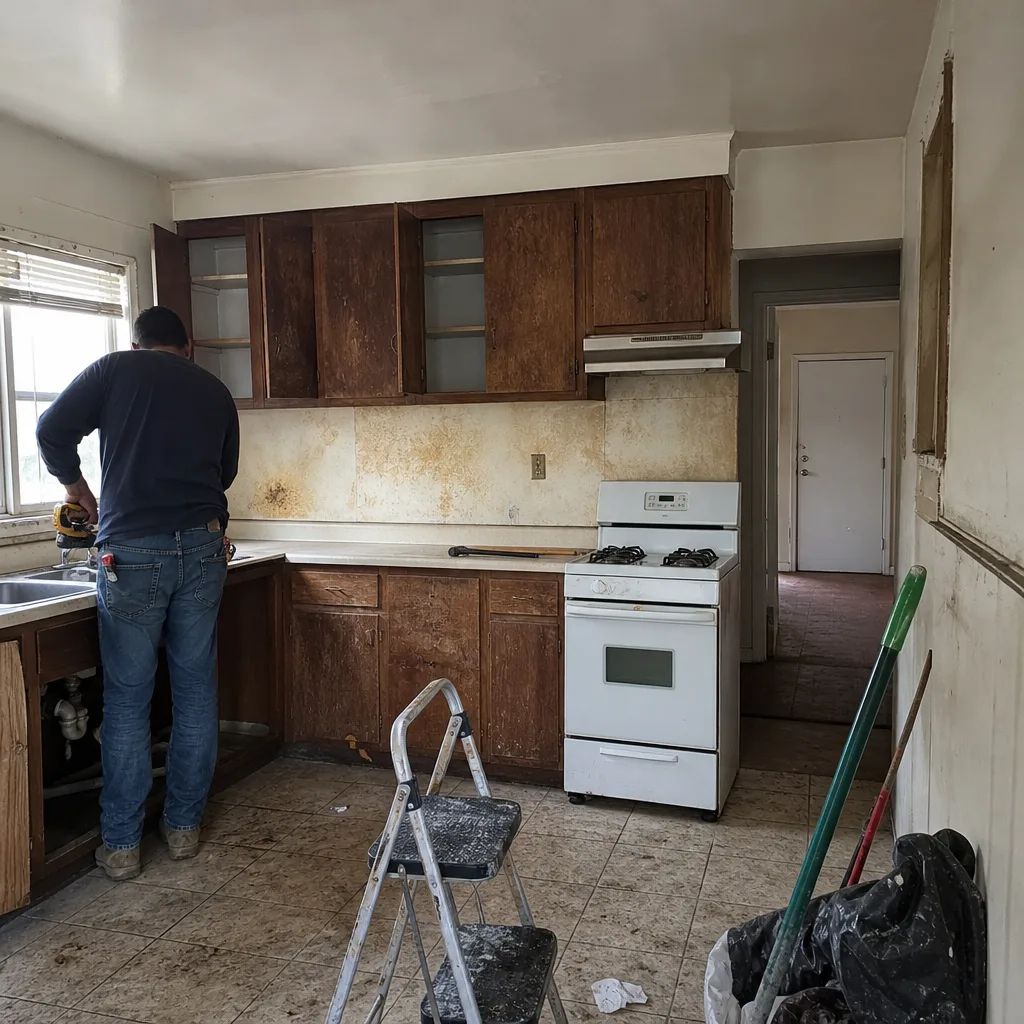 Before
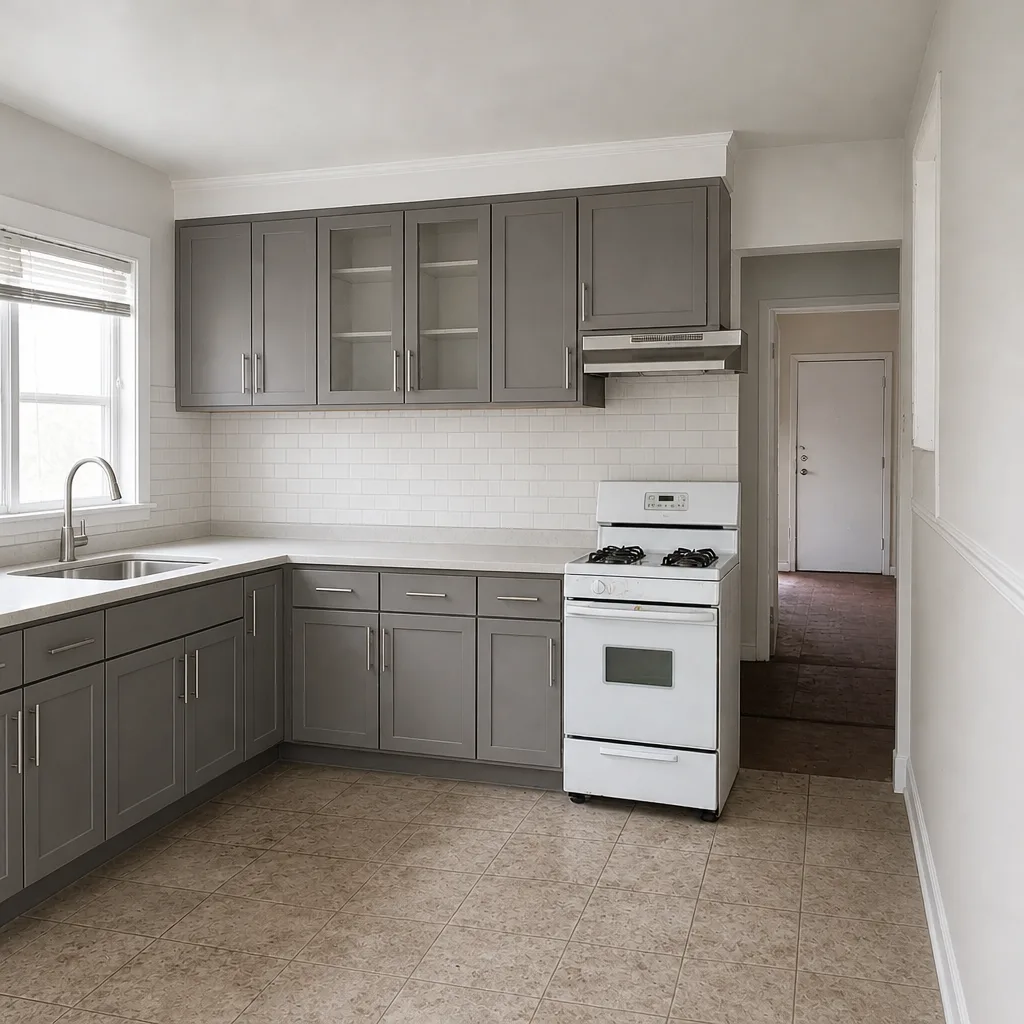 After
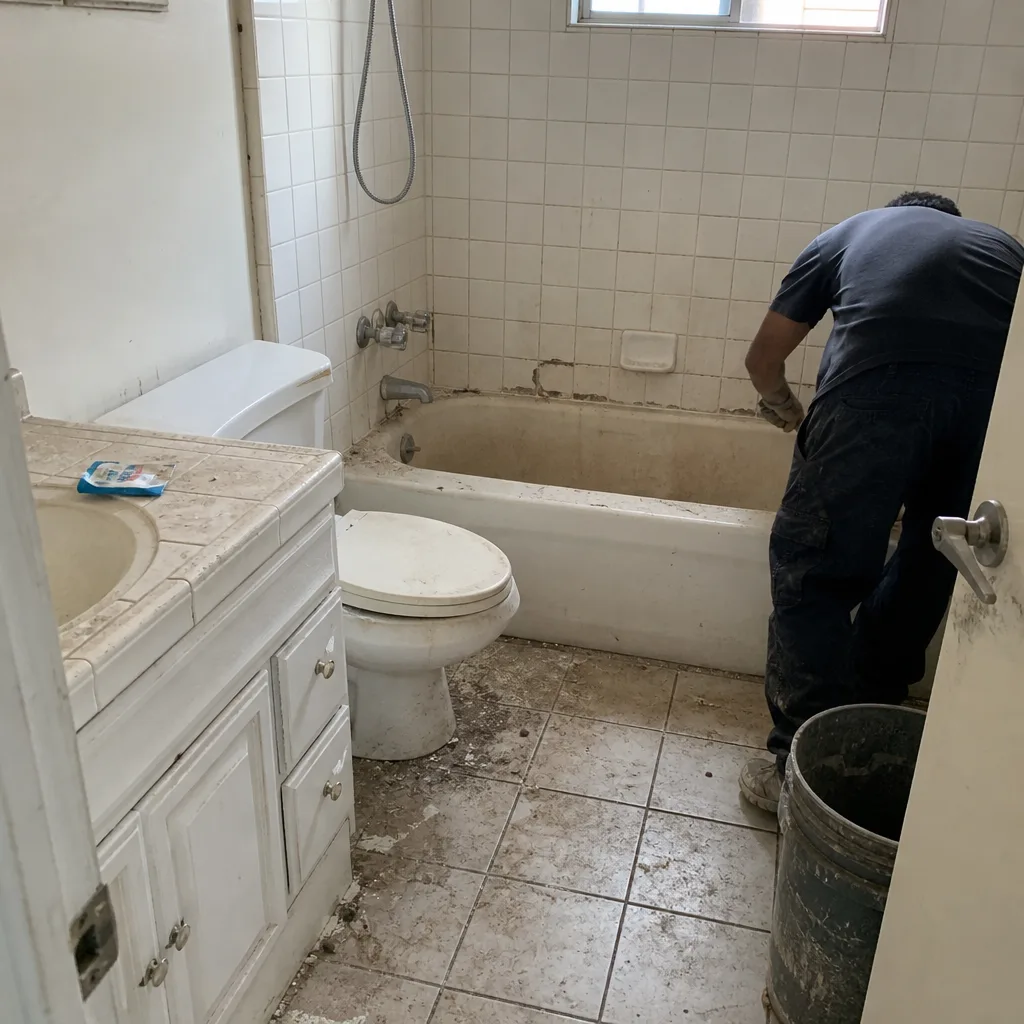 Before
 After
When to Call a Professional
Call a professional when the surface shows signs of movement rather than wear: rippling down the length of the driveway, joints that empty themselves within weeks of refilling, pavers that rock underfoot, corners that have settled below the plane, or edge restraint that flexes under pressure. These indicate a base or restraint problem that no amount of surface maintenance will fix. Also call when a driveway is holding pooling water more than a few hours after rain, when a downspout or gutter needs re-grading, or when you’re evaluating materials for a replacement and want a written estimate with brand options. Homeowners who seal their own driveways should call before resealing if there’s any doubt about the paver material, since the wrong product can cause damage that a manufacturer won’t warranty. Construction Inglewood offers free estimates in Inglewood; call (844) 320-4724 to schedule.
Frequently Asked Questions
Reseal every three to five years in Inglewood, ideally during the dry season between April and October. Penetrating sealers usually stretch toward five years on a well-pitched surface, while film-forming acrylics need more regular attention. Check your paver manufacturer’s warranty terms first, since some require a specific product to keep coverage intact. Call (844) 320-4724 for a free estimate if you’d like a professional assessment before sealing.
Repeated sand loss usually means the base beneath the pavers has voids and sand is migrating downward, which is a sign of base movement in Inglewood’s clay soil rather than a simple refill issue. A properly compacted base that isn’t moving will hold joint sand through a normal wet season. If you’re refilling monthly, the base needs to be inspected. Call (844) 320-4724 to schedule a free evaluation.
Yes, but use a wide fan tip and keep the nozzle well above the surface to avoid stripping joint sand. Never use a zero-degree tip or close-range pressure, since concentrated blasting erodes joints and can pit some pavers. For clay brick and porcelain, use even lighter pressure and prefer a cleaner rated for the material over raw pressure. Call (844) 320-4724 with questions about your specific paver type.
Sometimes. Manufacturer warranty terms vary, and some require professional installation or a specific sealer product. Read the terms for the brand that produced your pavers, and avoid applying a generic sealer without checking whether it’s on the approved list. If your pavers came from Belgard, Unilock, Techo-Bloc, Tremron, Cambridge Pavers, or Oldcastle, we can point you to the warranty path for each. Call (844) 320-4724 for a free estimate on correct sealing or resealing.
A wavy or rippled driveway is almost always a sub-base issue: the clay soil beneath expands and contracts with seasonal moisture, and a base that’s too shallow or poorly compacted moves with it. Surface maintenance can’t correct this, and the problem tends to worsen over time. A contractor will need to lift the affected pavers, correct the base, and reset them. Call (844) 320-4724 for a free estimate.
Maintenance like re-sanding, resealing, and cleaning doesn’t require a permit. But major repairs that change the driveway’s footprint, drainage pattern, or grade often do, so it’s worth asking your city’s building department before a significant rebuild. Paver work that ties into a home addition or ADU project also requires permits, and those should be pulled before work begins. Call (844) 320-4724 for a free estimate and we can walk you through the permit question for your specific project.
The Bottom Line
Paver maintenance in Inglewood is really a two-layer job. On the surface, it’s sweeping, sanding, sealing, and seasonal inspections. Underneath, it’s about protecting a base built for clay soil that moves with the wet-dry cycle. Do the surface work on schedule, watch for signs of movement early (ripples, empty joints, loose edges), and call a contractor the moment those signs show up. Catch a base problem in year two or three and it’s a targeted repair; ignore it for five and it’s a rebuild. Choose materials with a warranty path and a track record, and match your sealer to your paver material, not to what’s on sale. That’s the whole playbook.
If you’re in Inglewood and your driveway is showing signs that need more than a broom and a bag of sand, call Construction Inglewood at (844) 320-4724 for a free estimate. We answer 24/7. Fast dispatch from 7am to 7pm, Sunday through Friday. Every quote is a written, line-item estimate with brand options, so you know exactly what you’re getting before work starts.
Written by the team at Construction Inglewood.