Last updated November 18, 2026



Free written scope consultation - allowances, timeline, and change-order rules on paper before a single trade is scheduled
Driveway & Pavers Troubleshooting in Inglewood: Common Problems and How to Fix Them
If your pavers are rocking six months after install, the contractor didn’t fail at laying pavers. They failed at compaction testing. The paver is just where the evidence shows up.
That single idea changes how you should think about every driveway problem in Inglewood. Loose pavers, sand washing out of the joints, white chalky bloom on the surface, the outer row creeping into the planting strip – none of these start where you see them. They start in a decision made before the first paver was set: how the subgrade was prepared, how the bedding layer was screeded, how the edge was anchored. This guide works backward from each symptom to its root cause, so you can tell a cheap repair from a full rebuild before you spend a dollar.
Quick Answer
Most driveway paver problems in Inglewood trace to one of three installation failures: poor subgrade compaction (rocking, settling), bedding sand migration (joint washout, hollow spots), or missing or shallow edge restraint (spreading and creep). Diagnosis starts with the edges and the joints, not the pavers themselves. Repairs range from re-sanding joints to lifting and resetting a small field of pavers – a full tear-out is only needed when the base layer itself has failed.
Styles & brands we work with
- Kitchen remodeling
- Bathroom remodeling
- Home additions & ADU
- Roofing
- Windows & doors
- Driveway & pavers
- Fence
Table of Contents
- How Do You Diagnose a Paver Problem Before You Repair It?
- Why Are My Pavers Rocking or Settling?
- Why Does Joint Sand Keep Washing Out in Inglewood?
- What Is the White Haze on My Pavers (Efflorescence)?
- Why Are My Pavers Spreading at the Edges?
- How Do You Handle Stains, Moss and Mildew?
- Is It a Repair or a Warranty Claim?
- How Do You Prevent These Problems in the First Place?
How Do You Diagnose a Paver Problem Before You Repair It?
Start with a walk-and-listen test, then work from the outside in. Most homeowners jump straight to the paver that looks wrong. A trained eye looks at the perimeter first, because the edge tells you whether the failure is local or systemic.
- Walk the perimeter. Press down on the outer course of pavers with your heel. Any movement at the edge points to restraint failure, which often mimics settling further in.
- Tap and listen. Tap pavers with a screwdriver handle. A hollow, ringing sound means the bedding sand has migrated out from under that paver. A dull thud means it’s still seated.
- Check the joints. Look at joint depth after a rain. Joints that are consistently deep and empty across a whole field suggest the sand was never properly compacted into the joints to begin with.
- Look for a pattern. One rocking paver is a fluke. A line of rocking pavers running perpendicular to the driveway slope usually traces to a single low spot in the base.
- Locate the low point. Pour a bucket of water across the surface after it’s dry. Where it pools for more than a few minutes is a grading issue, not a paver issue.
That sequence matters because each answer points to a different repair budget. A single hollow paver in an otherwise solid field is a same-day reset. A whole line of rocking pavers along a low base spot means lifting and re-compacting a section. And if water is pooling against the house or garage, you’re looking at a grading correction, which is a bigger job than any paver replacement.
Our technicians have up to 14 years of experience diagnosing these patterns, and the single biggest time-saver is always the same: check the edge restraint before you touch a paver. If the edge has failed, re-setting the field without fixing the edge just means it fails again.
Why Are My Pavers Rocking or Settling?
Rocking pavers are a subgrade problem, almost without exception. The paver itself is rigid – the movement comes from underneath. When a paver rocks, it means the compacted base beneath it has lost density in one spot, and the bedding sand has shifted to fill the void.
There are three distinct causes, and each has a different repair scope:
- Subgrade failure. The native soil under the base was never compacted to spec, or was compacted wet, or was cut too shallow. This shows up as a broad, soft area – several pavers moving together over weeks. Repair means excavating to the base layer, re-compacting in lifts, and re-installing. It is the most expensive repair and the one most worth catching early.
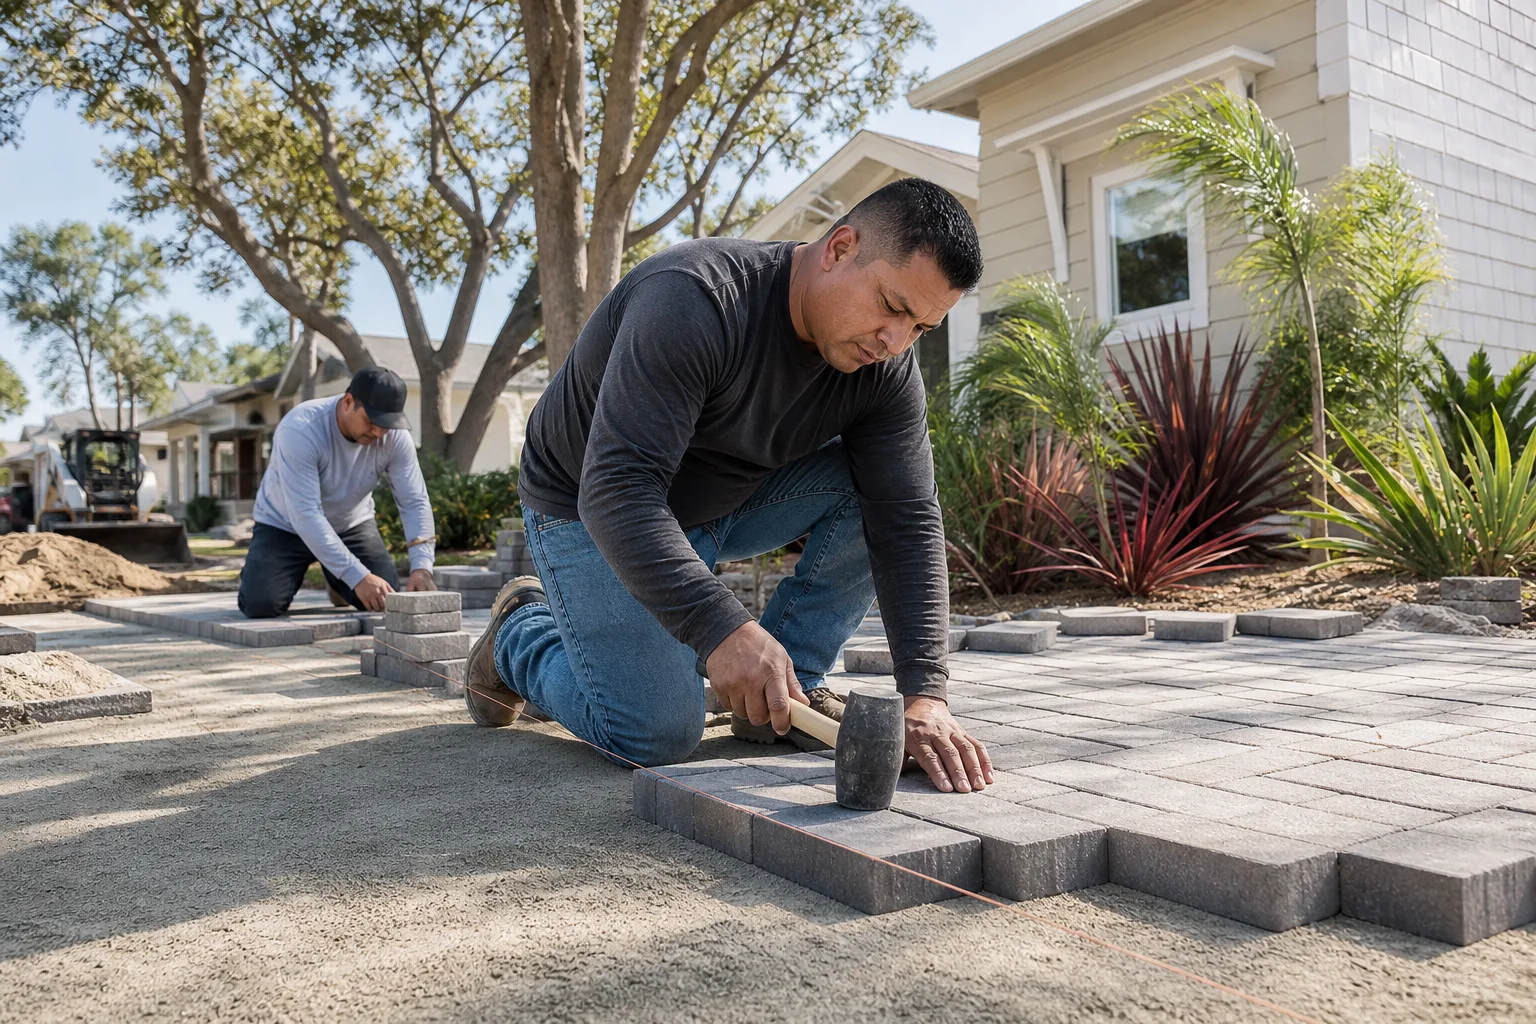
- Bedding sand migration. The 1-inch bedding layer was screeded unevenly, or was over-saturated during install. One or two pavers rock while their neighbors stay solid. This is a cheap, targeted fix: lift the affected pavers, re-screed the bedding, reset, re-sand, compact.
- Edge restraint failure. Covered in its own section below, but worth noting here because edge failures often look like settling. The pavers don’t settle down – they shift sideways, and the joint pattern distorts as a result.
Inglewood’s mild winters are a mixed blessing for pavers. You won’t see ice heave or frost movement, which is the main driver of paver failure in colder parts of the country. What you do get is a wet season running roughly November through March, and that rain finds every weakness in the base. A poorly compacted section that would stay stable in dry weather will show its failure in the first wet winter. Clay-heavy soils in parts of Inglewood hold water longer than sandy soils, so a shallow base over clay drains slowly and softens.
Two things to test: press on the paver after a heavy rain versus in dry weather. Pavers that are rock-solid dry but soft after rain point to drainage and base-depth issues. Pavers that rock in both conditions point to compaction failure. That distinction tells a contractor which repair to quote.
Why Does Joint Sand Keep Washing Out in Inglewood?
Joint sand washout is the most common paver complaint we hear, and the rain season in Inglewood is when it shows. Between November and March, the area gets its annual rainfall concentrated into a few storm events, and that intensity is what does the damage. Water running fast across a paved surface scours the joints before the sand has a chance to settle.
There are two separate issues to separate here:
Sand that was never fully compacted into the joints during install. This is an installation failure. Regular joint sand looks fine on the surface but has air pockets or bridging underneath. The first hard rain flushes it. The fix is straightforward: sweep dry sand into the joints, compact with a plate compactor (vibrating over the pavers, not just sweeping), and top up. Two or three passes may be needed to fully fill.
Sand that’s compacted but displaced by water over time. This is normal wear. Even a properly built driveway benefits from a sand top-up every couple of years.
Polymeric sand changes the equation, but only if it’s applied correctly. Polymeric sand binds with the joint face when it’s activated by water. The critical difference from original installation is that polymeric sand is applied to dry joints on a dry surface, must be compacted and swept clean of the surface before activation, and shouldn’t get its first real rain exposure for a set period. Applied over a wet surface, or activated with too little water, it stays soft and washes out the same as regular sand.
If you’re re-applying polymeric sand, the process is different from the original install:
- Remove the old sand to a consistent depth – roughly two-thirds the paver thickness. Don’t just add on top.
- Let the pavers and joints dry completely. This matters. Polymeric sand applied wet fails.
- Pour and sweep the sand into the joints, compacting across the full field.
- Brush the surface completely clean of residue before activating, or you’ll stain the pavers.
- Activate with water per the manufacturer’s instructions – typically a light, slow soak rather than a pressure spray.
Quikrete and Sakrete both make polymeric joint sands with clear application requirements on the packaging. The instructions look identical to regular sand on the bag. They aren’t. Read the back.
What Is the White Haze on My Pavers (Efflorescence)?
Efflorescence is a white, chalky bloom on the paver surface – and it is almost always a curing moisture problem, not a defective paver. The explanation is simple enough. Concrete pavers contain naturally occurring soluble salts. When the paver cures with excess trapped moisture, those salts migrate to the surface and crystallize as the moisture evaporates. The bloom is cosmetic. The paver beneath it is fine.
What causes the excess moisture in the first place:
- Installation-timed efflorescence. Moisture on the pavers at install or activation, combined with cool, cloudy weather, which slows evaporation and pushes salts to the surface.
- Insufficient drying time. Fast-setting mortars or sealers applied before the pavers fully cure.
- Wicking from the bedding and base. Wet subgrade wicking moisture up through the paver.
- Reactive soils. Clay-heavy ground is more likely to hold water and drive the salt migration.
The treatment matters. A citrus-based efflorescence cleaner or diluted white vinegar (a 10:1 water-to-vinegar mix) scrubs off the bloom without attacking the sealer. Standing on the paver and scrubbing hard does nothing – the bloom is soft and lifts easily. What you don’t want to do is attack it with a muriatic acid wash, which is the standard shortcut. Acid will strip the surface texture and take the sealer with it, and on some pavers it leaves a permanent etch mark in the finish. If the manufacturer doesn’t specify acid washing as part of their care guidelines, don’t do it.
The best response to efflorescence is not to fight it after the fact but to let it burn off naturally. In most cases the bloom will reabsorb or weather off in the first few months of dry weather. Scrubbing with vinegar is a fine way to hurry it along. Sealing over an active bloom not only doesn’t hide it – it locks it in.
Why Are My Pavers Spreading at the Edges?
Edge creep is the clearest diagnostic signal in the paver trade: pavers spreading outward at the perimeter almost always mean the edge restraint is missing, undersized, or improperly anchored. Before you spend anything on re-setting pavers, find the restraint and confirm it’s doing its job.
What an edge restraint looks like and what can go wrong:
- Missing. Some installs are finished with a 4-inch concrete curb poured alongside the pavers without spikes or anchoring into the base. This curbs moves over time and the pavers follow.
- Undersized. A restraint designed for a walkway used on a drive lane doesn’t hold under vehicle traffic and gravity roll.
- Improperly anchored. Spikes driven into loose soil rather than the compacted base. The restraint shifts, the outer course pushes out.
- Poorly bedded. Restraint set on soft ground, not set against a rigid base or clean-cut shoulder.
Inglewood driveways set at grade, with a sloped transition to the sidewalk or street, are where edge creep is most common. Vehicle roll toward the street pushes the outer pavers against the restraint every single day the car is parked. Without a properly anchored restraint, the driveway edge inches outward, the outer course sits proud, and the joint spacing opens. Once that happens, sand falls through, the base surface washes out, and the pavers rock.
The repair sequence for edge creep is not to reset the pavers first:
- Remove the outer course of pavers and any displaced restraint.
- Excavate to the base and re-compact the shoulder.
- Install a proper anchored edge restraint, spiked or bolted into the compacted base, not the loose topsoil.
- Bed the restraint at the correct height – top edge flush to two or three millimeters below the paver face, so the paver seats tight against it.
- Reset and compact the outer course back into the restraint.
Belgard, Unilock and Techo-Bloc all publish restraint products designed for specific load classes. The brand on the bag is not as important as the anchoring detail. A restraint anchored into soft ground fails regardless of who makes it.
How Do You Handle Stains, Moss and Mildew?
The good news about Inglewood’s climate is that freeze damage isn’t a concern. The harder-working concern is moisture-related staining – moss in shaded corners, mildew on north-facing driveways, and oil or rust stains from parked vehicles. Each has a different treatment, and using the wrong one can set a stain permanently.
Moss and mildew. These grow where water sits, so they are a drainage symptom, not just a surface problem. Scrub with a mild bleach-diluted solution (per manufacturer or label instructions) and rinse. Long-term, fix the pooling and open the shade if possible. Don’t pressure-wash aggressively enough to erode the joint sand – that makes the drainage worse.
Oil stains. Absorb as much as possible with an absorbent material first. Then lift residue with a degreaser formulated for concrete. In our experience, the stains that look permanent are often just freshly set. Working on a cool, dry day gives the best result. If it’s already been there for years, it may never come out entirely – matching a replacement paver is often more cost-effective than a stubborn stain.
Rust stains. Lift with a mild acidic cleaner – oxalic acid is the standard. Rinse immediately and thoroughly, since excess acid attacks the paver face and bond. Sealer applied before the stain appears will have increased the paver’s resistance to staining significantly.
Sealer stains. Uneven sealer application is one of the most common causes of a “mottled” look on a paver driveway. The fix is to strip with the sealer manufacturer’s stripper, let the surface dry completely, and re-apply in even coats. Never touch up a single area – you’ll see the edge.
On paver brands carrying their own finish warranty – Tremron, Cambridge Pavers and Oldcastle all offer ranges with surface finish claims – you’ll want to check whether a sealer application or a strong acid wash voids anything. Oldcastle pavers are widely used in this area, and the finish on their range is impressively durable, but a household pressure-washer at full strength can still damage it. Use the gentlest treatment that works. Always test on a hidden corner first.
Is It a Repair or a Warranty Claim?
Every paver problem in this guide breaks into one of two categories, and whether it’s a warranty claim depends on which. Material defects are covered by the manufacturer. Installation defects are covered by the installing contractor’s workmanship warranty – if they offered one and if they’re still willing to honor it.
| Problem | Likely root cause | Covered by |
|---|---|---|
| Rocking or settling | Subgrade compaction failure | Installer workmanship warranty |
| Joint sand washout | Installation or normal wear | Installer if early; homeowner maintenance after the first few years |
| Efflorescence | Curing moisture | Rarely covered – cosmetic and self-resolving |
| Edge creep | Missing or improperly anchored restraint | Installer workmanship warranty |
| Payers cracking or chipping | Material defect or excessive load | Manufacturer if defect; installer if over-loading |
| Fading or surface losing color | Material defect | Manufacturer color warranty |
What documentation you need, in this order:
- The original sales receipt or contract showing the installer, materials, and purchase date.
- Paver brand, style and color – often on the original invoice or visible on the packaging during install.
- Photographs of the problem, taken in good daylight and taken over a few weeks, not just one moment. Showing the progression matters.
- Walk-test video. A 30-second video of a paver rocking underfoot is the single most useful piece of documentation.
- Confirmation of whether a sealer was applied, and which product.
Manufacturer warranties vary in coverage: some cover material only, some include labor, some exclude labor. Read the actual terms. Most defects show up early – in the first few years. A problem surfacing after ten years is probably wear-and-tear and unlikely to be covered. If your installer is gone or won’t respond, a manufacturer claim on a material defect is still possible if you have purchase documentation. If the problem is installation-related, the manufacturer won’t help.
Our team at Construction Inglewood routinely sees warranty claims of both types. The homeowner who has kept their paperwork gets a faster and more favorable outcome than the one who hasn’t. Keep the file.
How Do You Prevent These Problems in the First Place?
Prevention is the whole point of this guide, so here’s the short version of the installation checklist that would eliminate most of the above:
- Subgrade compacted in lifts and tested. Not just “ran a compactor over it once” – the base should be compacted in 4-to-6-inch lifts to percentage-density spec. This is the single most important decision.
- Proper base depth for the load. A driveway carrying vehicles needs more base depth than a walkway. Match the design to the traffic.
- Bedding sand screeded evenly, not over-saturated. A uniform 1-inch bedding layer is the goal.
- Edge restraint anchored into the base. Spikes into the compacted base, not the soft topsoil.
- Joints filled and compacted to the full depth. Two or three passes with a plate compactor and topped up.
- Polymeric sand applied under the right conditions. Dry surface, dry joints, correct activation.
- Sealer applied after a full curing period. Not immediately.
If you’re planning a driveway or paver project and want to choose from five established material lines – Belgard, Unilock, Techo-Bloc, Tremron, Cambridge Pavers and Oldcastle – the material should be chosen for the home’s style, the specific traffic expected, and the warranty tier the homeowner wants. All are credible. What makes or breaks the project is the base work under them.
If the driveway is one piece of a broader exterior project, the same single-contractor logic applies to driveway & pavers work and the surrounding site. Edges, planting beds, and the transitions to walkways and fences all interact, and getting one contractor to coordinate them avoids the seam where driveways and fences don’t meet.
Common Mistakes to Avoid
- Resetting pavers without fixing the edge restraint. This is the most common and most expensive mistake. New pavers look fine for a few months, then the same edge creep returns. Fix the edge first.
- Applying a sealer to hide efflorescence. The bloom is active moisture moving salts through the surface. Sealer locks it in. Let it burn off first.
- Acid-washing efflorescence after curing. Muriatic acid attacks the sealer and the paver texture. Use a mild chelating cleaner or diluted vinegar.
- Topping up joint sand without compacting it. Sand swept onto the surface and left there washes away in the first heavy rain. Plate compaction and re-sanding in passes is what sets it.
- Applying polymeric sand to damp pavers or damp joints. The polymer won’t activate properly. The joints look filled for a few weeks, then fail in the next rain.
- Pressure-washing hard enough to strip joint sand. In Inglewood’s rain season, joint sand gone means base surface exposed to water. Wash at a low setting and keep the wand moving.
- Throwing away paver paperwork. Most warranty claims need the original contract, the brand name and the purchase date. A missing receipt can turn a covered claim into a paid repair.
See the difference
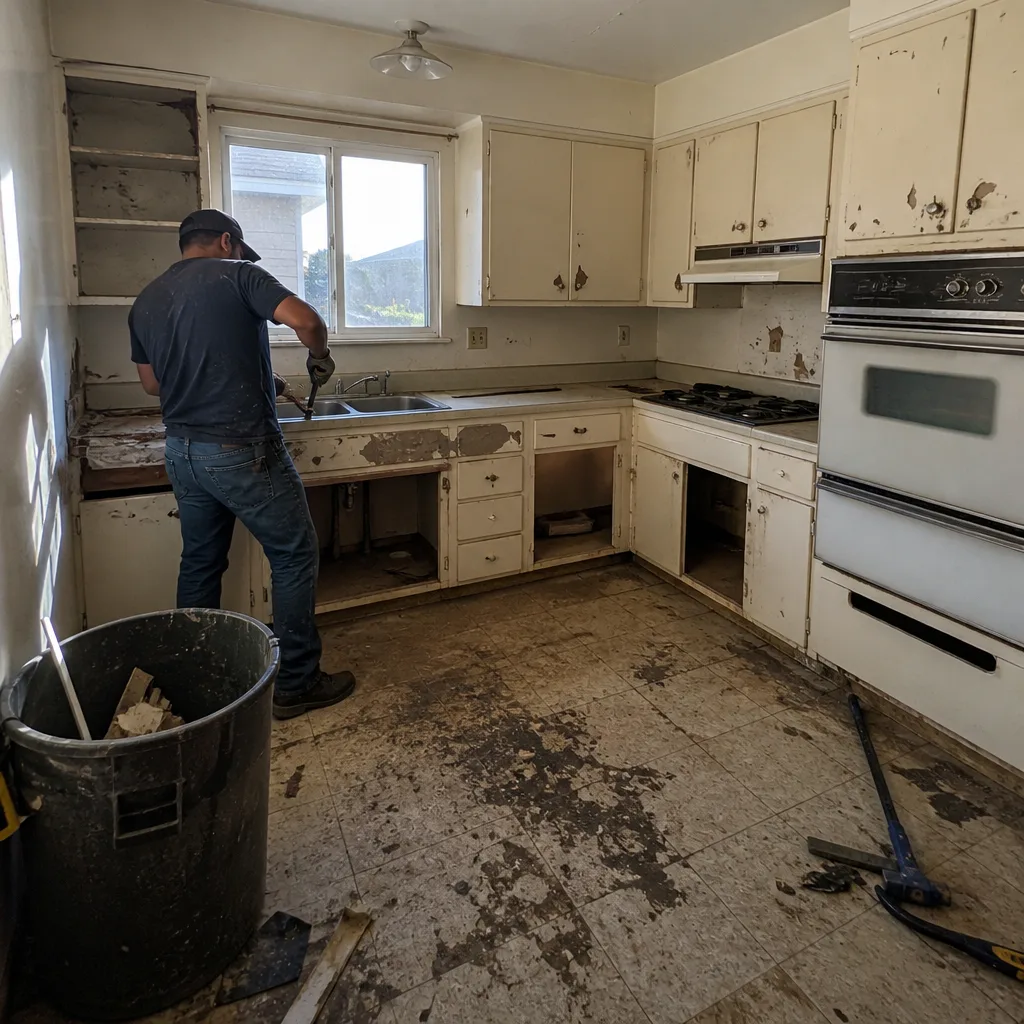 Before
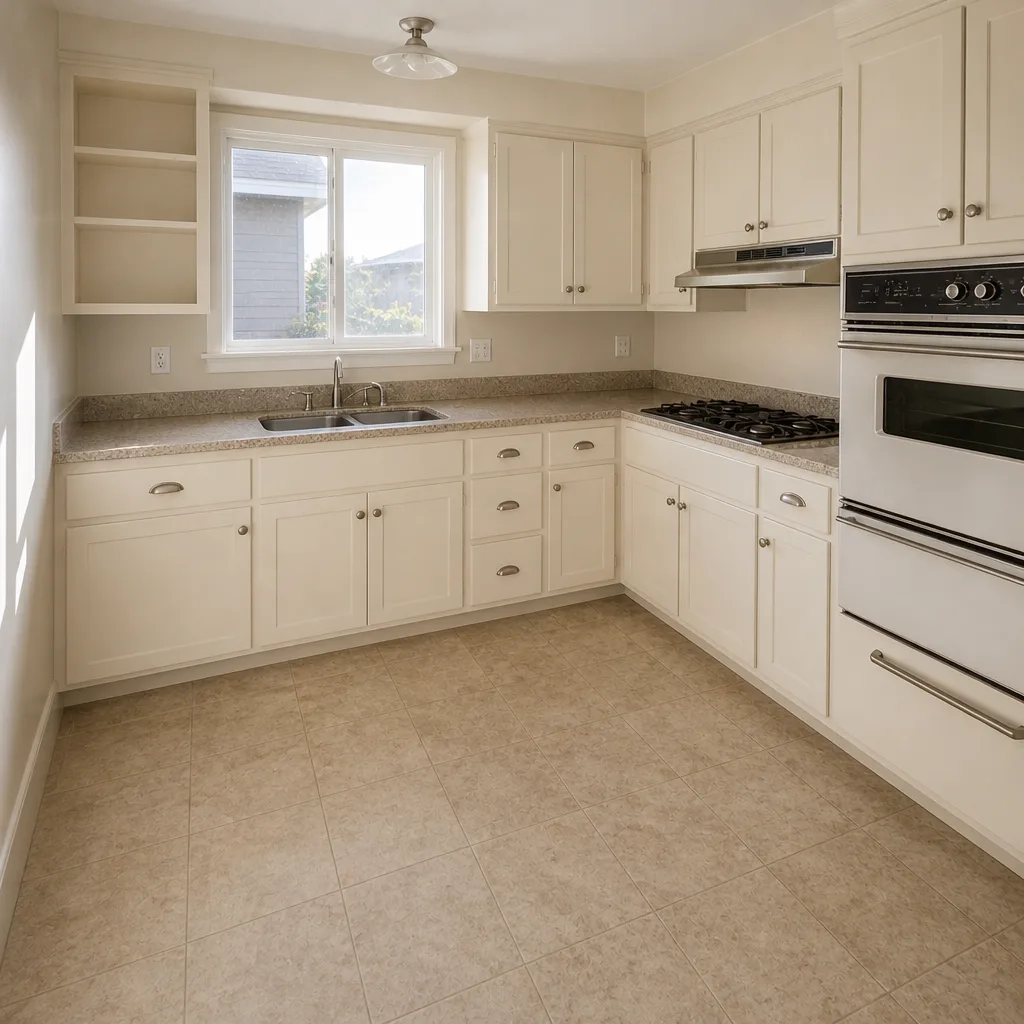 After
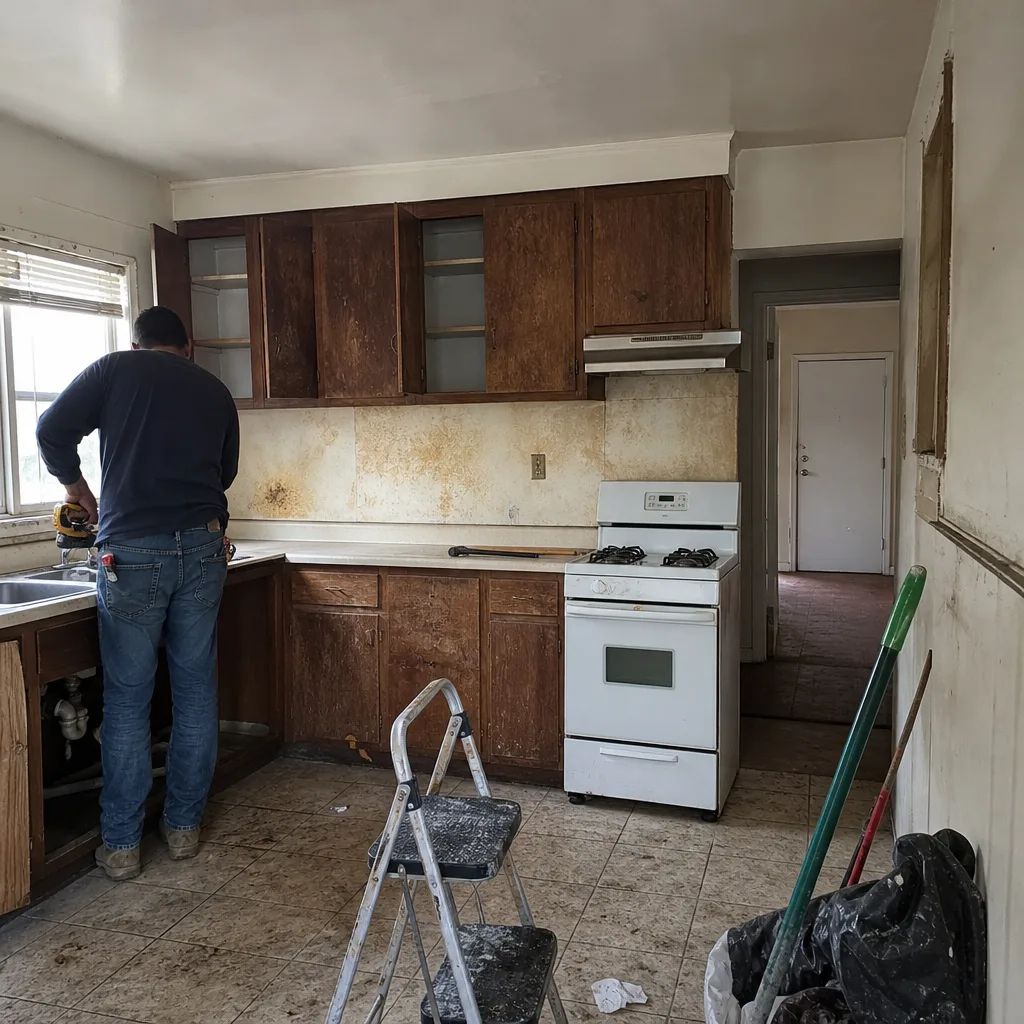 Before
 After
 Before
 After
When to Call a Professional
Some paver problems are genuine DIY territory – moss removal, a single joint top-up, an oil stain. But there’s a clear line beyond which the wrong move costs more than the right call. Call a professional if any of the following is true: your pavers rock underfoot after a rain, the pattern has visibly shifted along the edge, the joints won’t hold sand after two re-applications, water is pooling against the foundation or garage, or a paver has cracked under vehicle traffic. Those situations all point to a root cause that needs a proper diagnosis before a repair scope can be defined.
If the damage to your driveway is part of a broader exterior project – a new fence line meeting the driveway edge, a walkway extension, or a full property upgrade – it’s worth coordinating the driveway scope with fence installation and the surrounding site, and exploring how a home additions & ADU project might reshape how driveways need to be laid out for vehicle access. Construction Inglewood offers free estimates in Inglewood – call (844) 320-4724.
Frequently Asked Questions
Rocking pavers almost always indicate a subgrade compaction failure. The base layer under the paver was compacted too little, compacted wet, or not compacted in proper lifts, so the base loses density in one spot and the paver moves. The fix usually involves lifting the affected pavers, re-compacting the base, and resetting. Call (844) 320-4724 for a free estimate to diagnose the extent.
Joint sand keeps washing out because it wasn’t fully compacted into the joints at install, or was ordinary sand without a binder. Rain running across the surface scours the joints. The fix is a proper re-sand with full compaction, not just sweeping sand over the surface. Polymeric sand applied correctly will bind the joints longer – but only if the pavers are dry at application. Call (844) 320-4724 for an exact quote on a re-sand and inspection.
No, the white haze is usually efflorescence, which is a curing moisture problem, not a defective paver. Soluble salts in the concrete migrate to the surface and crystallize as the moisture evaporates. It’s cosmetic and typically burns off over time. A citrus-based cleaner or diluted vinegar scrubs it off without harming the sealer. Avoid muriatic acid.
For a single rocking paver in an otherwise solid field, a careful homeowner-reset is often reasonable – lift the paver, re-screed the bedding, reset, re-sand. For more than one paver, or any paver at the edge of the driveway, the repair almost always involves restraint or base issues that are better diagnosed by a contractor. Getting it wrong risks re-doing the repair within a season.
Look at the pattern. Material defects show in the paver itself – cracking, chipping, fading or delamination across multiple pavers on a narrow driveway. Installation problems show up in the arrangement – rocking, sand washout, spreading, pattern distortion along the edge. Keep your original contract and brand paperwork; a warranty claim depends on it. Call (844) 320-4724 and we’ll help you sort out which category a problem belongs to.
Not worse than cold climates, but different. Inglewood has no freeze-thaw cycle to heave pavers, which is the biggest cause of failure elsewhere. The real pressure is the wet season from roughly November through March, which finds any weakness in the base and edge restraint. Clay-heavy soil in parts of the city drains slowly, so a shallow base softens more than it would in sandier ground.
Will the price change once work starts?
Not on a written estimate. The price is set per job by the written estimate, and fixed pricing with no change orders is the standard here. Getting a full scope in writing, before anyone lifts a paver, is what protects you from the project growing.
Do you pull the permits?
Where the scope requires it – additions, ADU work, structural changes – permits are pulled and inspections passed as part of the project. Pavement replacement at grade generally doesn’t require a permit, but grading changes that could affect drainage or the curb line may. If you’re unsure, ask your city’s building department before work starts.
The Bottom Line
Every paver problem in this guide points back to a small number of installation decisions made before the pavers went down: base compaction, bedding prep, edge restraint anchoring, joint sand and curing moisture. That’s good news for homeowners. It means the repair is smarter than the surface looks – and a proper diagnosis usually finds a targeted fix rather than a tear-out. If you see rocking pavers, edge creep or joints that keep washing out, get a professional diagnosis before spending on a repair. A written estimate and a clear root cause are worth more than any quick surface fix.
If you’re looking at one of these problems now, or you’re planning a driveway, paver or broader exterior project and want to get the base work right the first time, we can help. From a single driveway repair to a full property scope, one contractor can handle the driveway, fence, and windows together. To explore how a bigger exterior project can fit around a driveway rebuild or a detached structure, our home additions & ADU team can walk through the access, grading and site plan questions up front.
Call (844) 320-4724 to schedule a free estimate in Inglewood. We answer 24/7. Fast dispatch from 7am to 7pm, Sunday through Friday.
How long will the job take?
That depends entirely on scope. A joint re-sand is a short job, often a single visit. Re-setting a section of pavers with base work runs a day or two per section. A full driveway install with proper base preparation is a multi-stage project with curing and compaction time built in. The written estimate includes the timeline for your specific job.
Written by the team at Construction Inglewood.